I have planted thousands of flower bulbs over the last 15 years – I have read about some unique ways to plant them a little differently for a few years now, but there are two techniques that I haven’t ever tried. This year I have made the decision to put them to the test!
I have blogged about basic bulb planting in Its Easy to be a Flower Bulb Expert. This is just a bit more specific and I’ve included two more creative ideas! While flower bulbs are still the easiest flowers to grow and take care of, these techniques require a little more “know-how” and some patience.
Planting Techniques
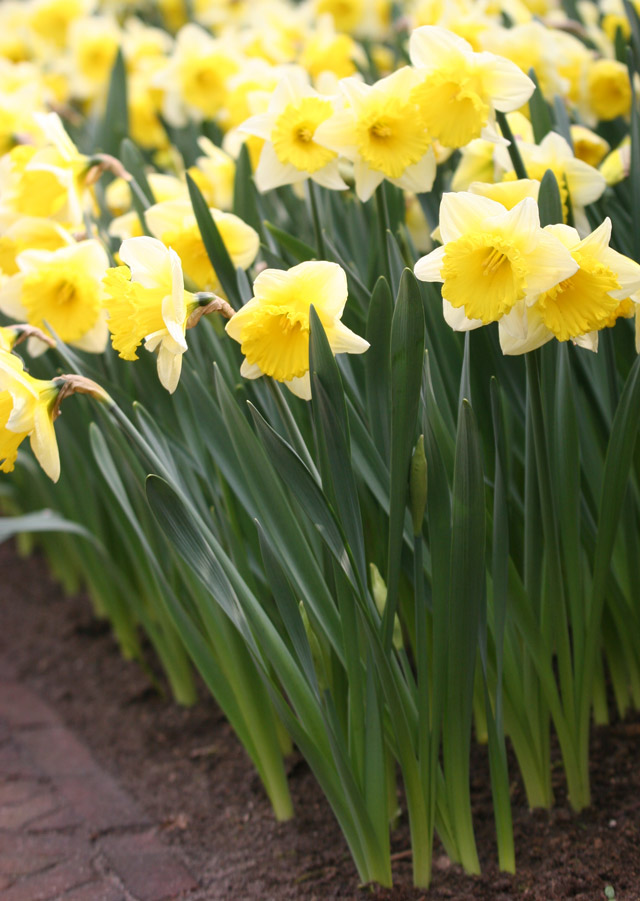
 Rows/Formal:
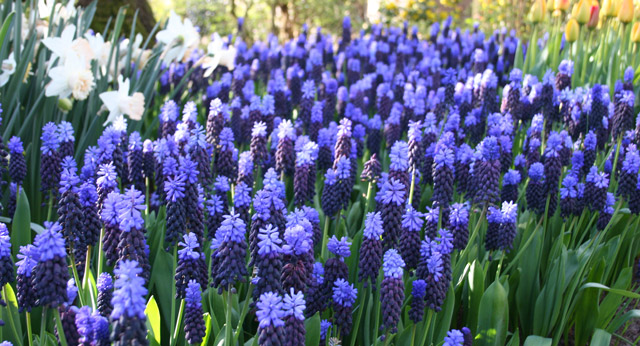
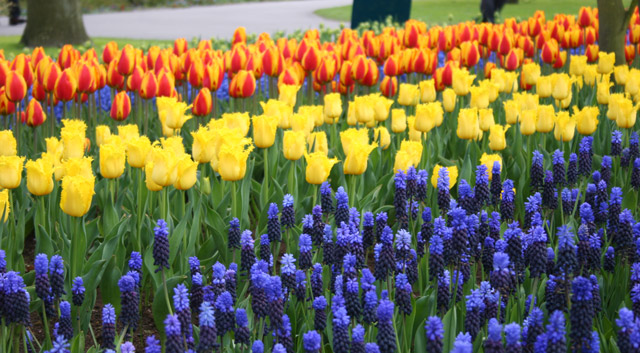
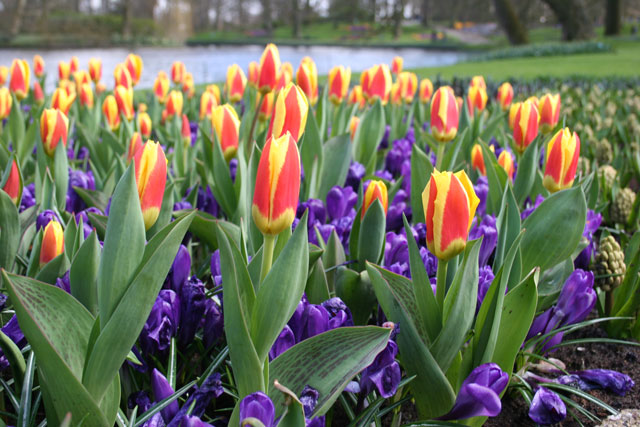
A traditional way is planting in wide swaths or rows especially in large sections of the same color. One bulb per hole at proper spacing. This really makes a great statement and really pops!
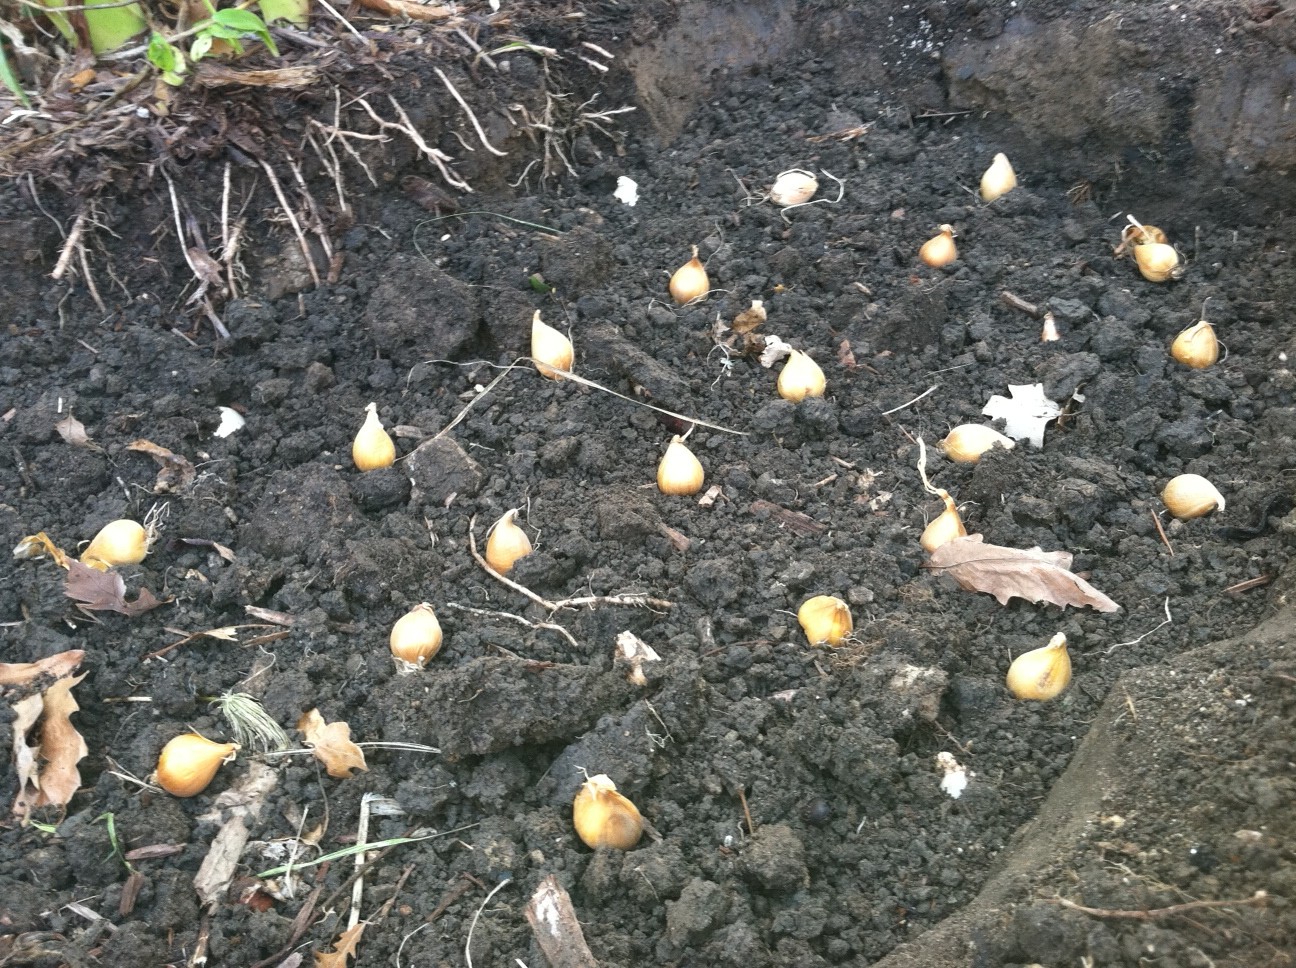
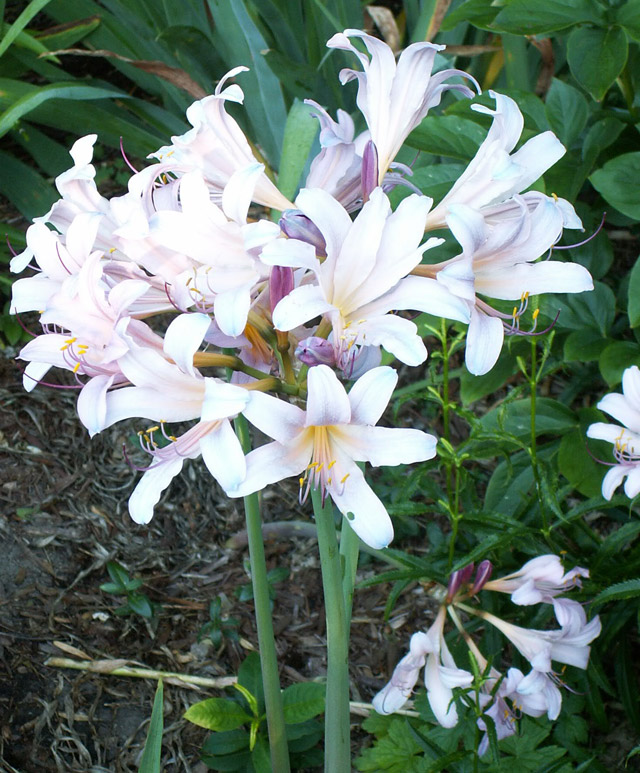
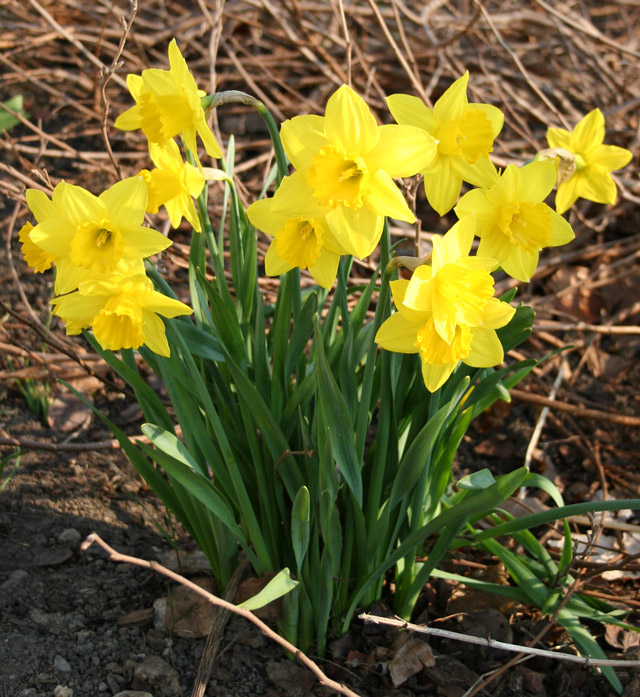
 Grouping/Filling in Gaps:
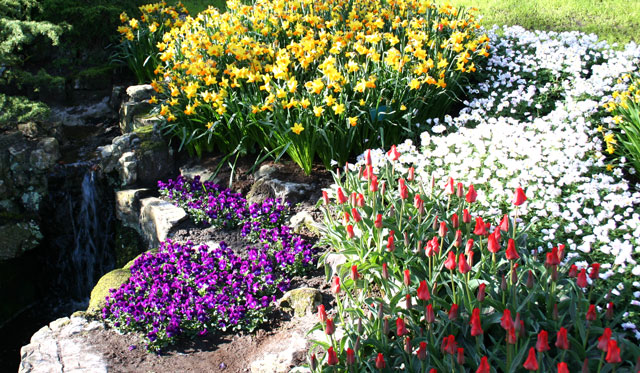
Fill in areas between perennials and shrubs with bulbs to provide color and interest before the perennials and shrubs begin to grow. One bulb per hole in a group, 5-10 bulbs in a group. (It is too long to wait for color from perennials – especially in WI and other state with long winters!)
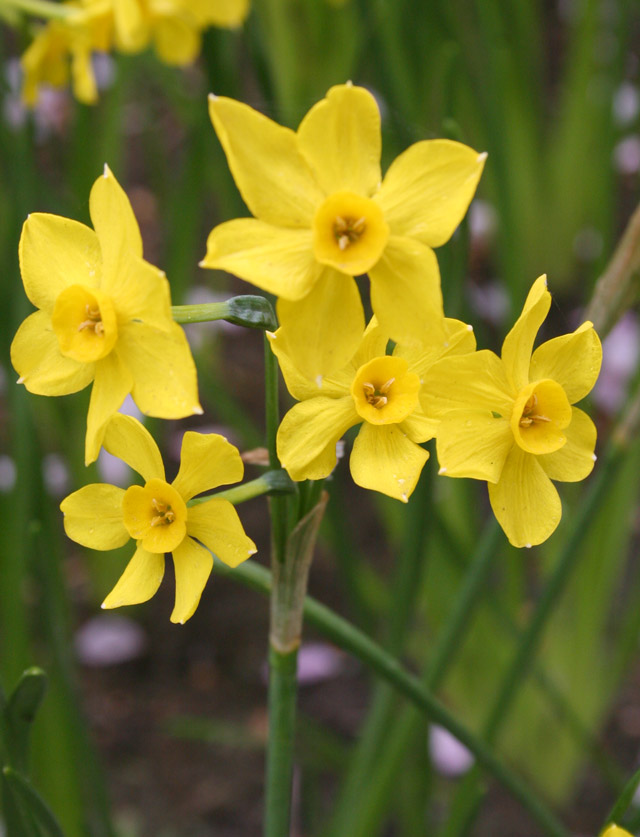
 Naturalizing:
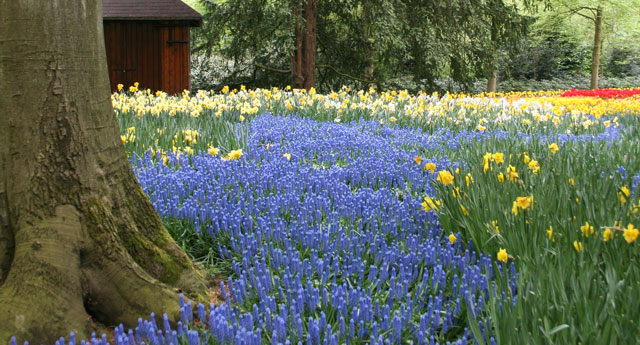
This is often done with Crocus and Scilla but can also be done with Daffodils, Galanthus, Squill or Chionodoxa. Plant at the base of deciduous trees or within lawn areas. (I typically do this right after we aerate our lawn as their aeration process makes the perfect-sized holes for planting crocus!) If you want the bulbs to continue to reappear each year, you will need to wait to cut the lawn until after the foliage has yellowed.
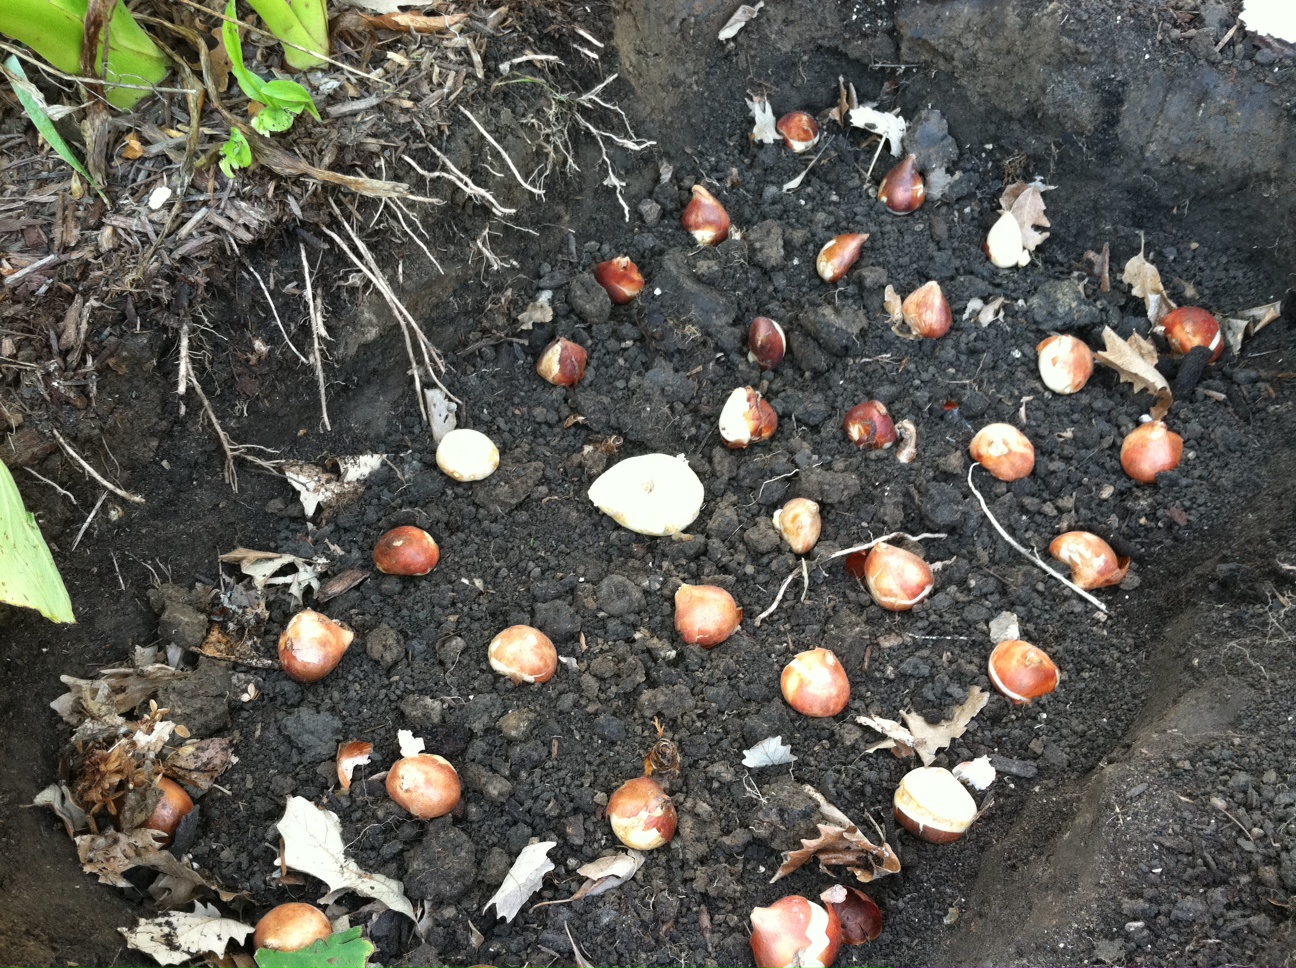
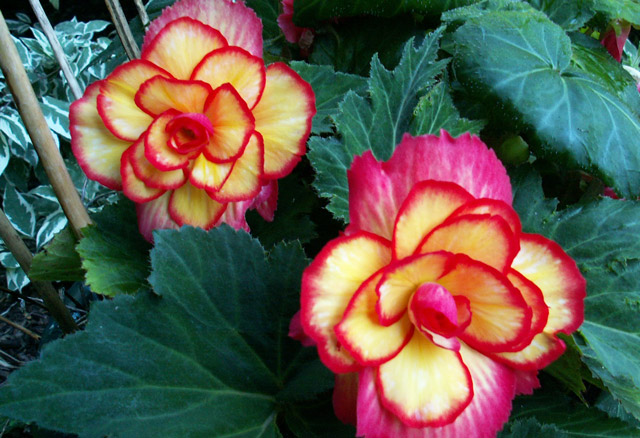
 Bouquet: This technique grows bulbs in groups like a bouquet!
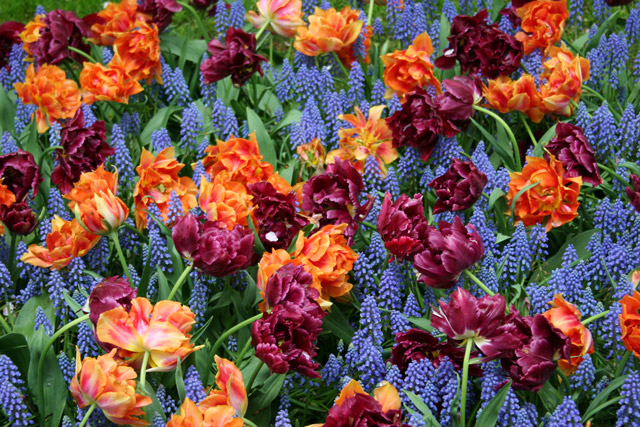
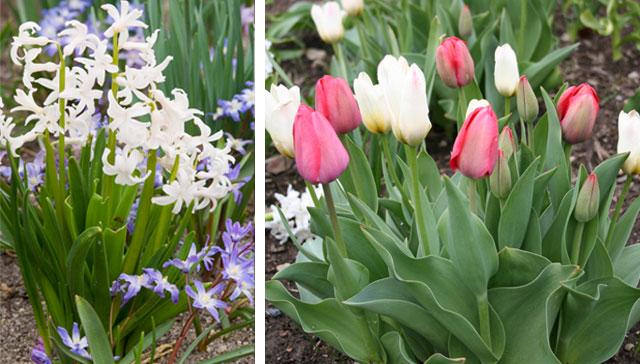
Option #1 Dig a hole to the appropriate depth for the bulb you are planting. Dig at a width proportionate to the size package of bulbs you are planting. Dump the package of 5, 10, 15, or 25 bulbs into the hole and cover. (Bulbs can be touching & do not space them)
Option #2 Take option one but pick 3-4 different colored bulbs that bloom at same time.
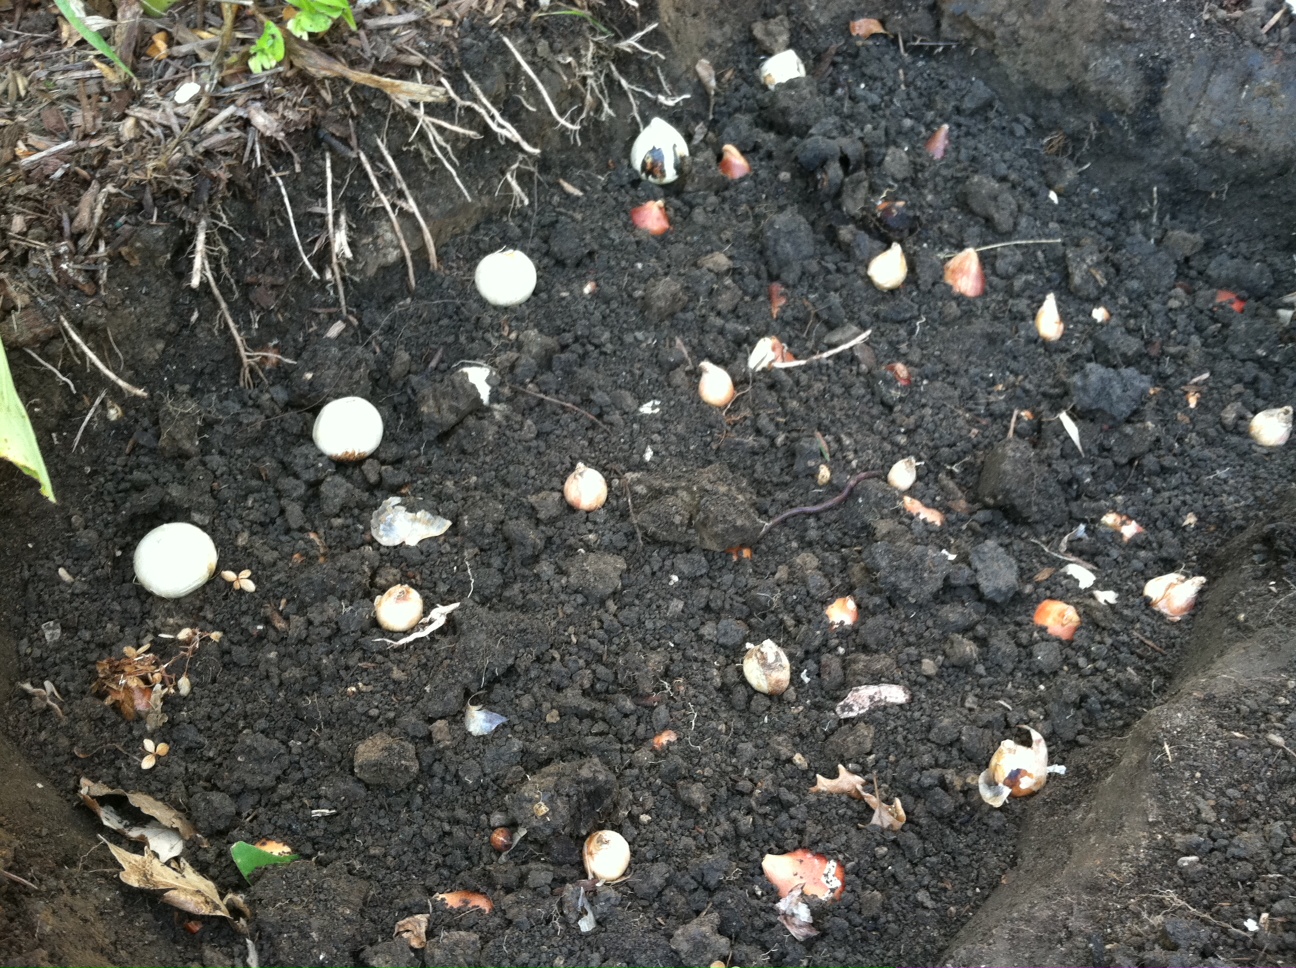
 Layers/Lasagna: This technique provides a combination of heights, color, and bloom times throughout the planting area or container…. a flower bulb lasagna!
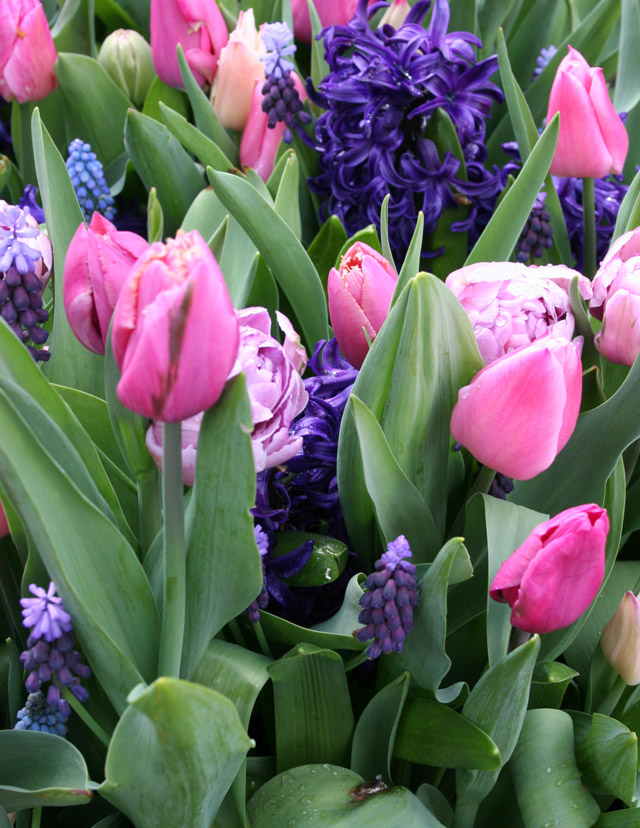
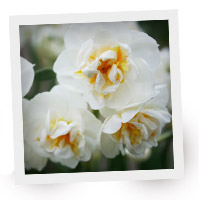
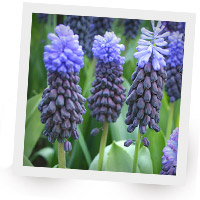
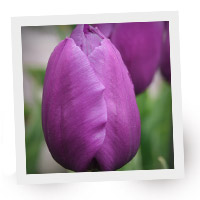
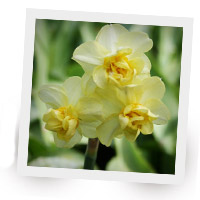
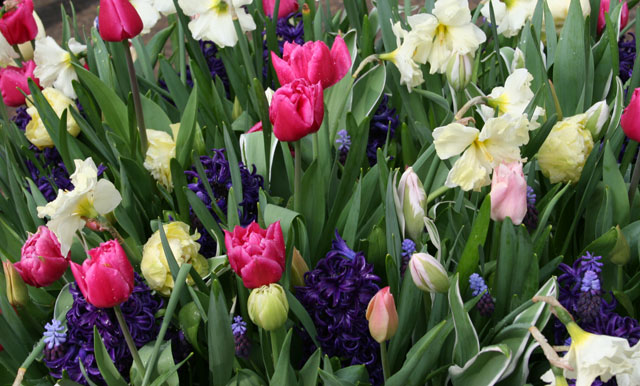
Option #1 Choose a mix of 3-4 types of bulbs such as: Daffodils, Tulips, Muscari, Hyacinths, Anemones, Ranunculus, Scilla, or Dutch Iris. Order your choices by depth requirement and dig your hole to the deepest depth needed. Place your first type of bulb across the bottom and at proper spacing, cover with a layer of dirt, place your next bulb layer at its proper spacing on top and cover with a layer of dirt, and so on.
Option #2 Take option one but find a container to use instead of planting directly into the ground. Now if you are in zone 6 or colder, this can be a bit trickier. When planting perennials in containers, they must be hardy into 1-2 zones colder than what your zone actually is. (For example: I am in zone 5, if I plant a perennial in a pot it must be hardy into zone 4.) Flower bulbs tend to freeze easier and turn to mush when not in the ground, so this rule does not work with bulbs. You will need to insulate the pot to protect it from the harsh winter, keeping in mind that it still needs drainage and water, as if in the ground). You will also need to bring the container into a garage/shed or another somewhat insulated area when temps drop below 20°. Since you will be moving these containers, it is important to make sure you choose smaller containers which are able to be moved as necessary!
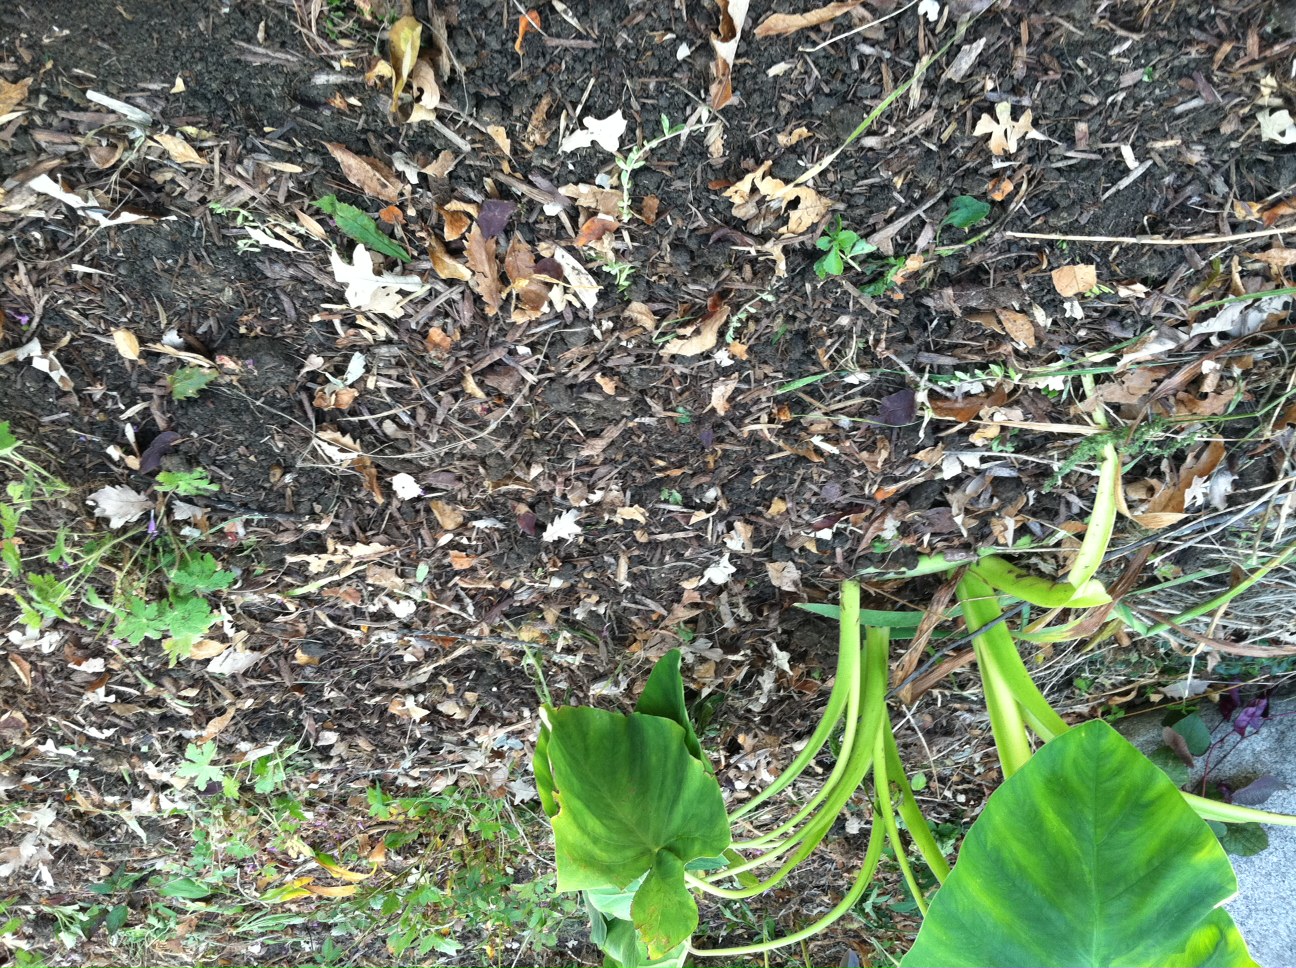
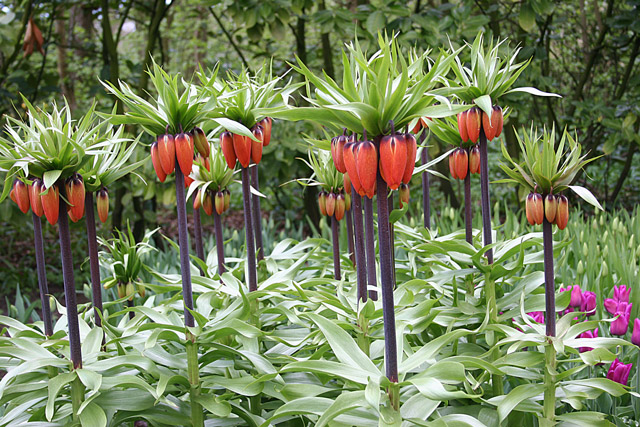
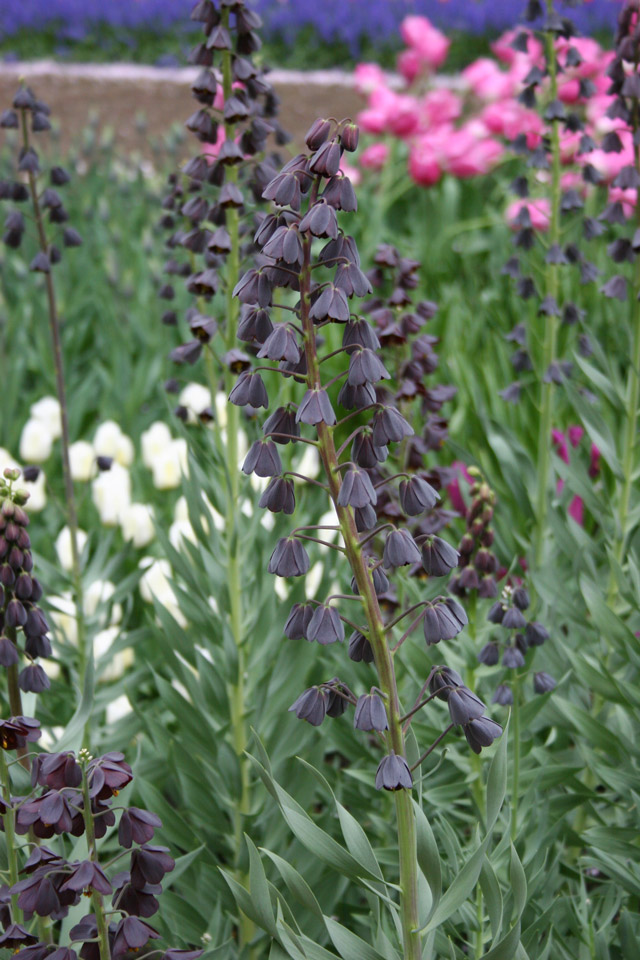
These last two techniques are the ones I have not tried before. I am especially looking forward to the lasagna planting. I am going to use one of the collections called Full of Excitement Collection from Tulip World and create another planting with some of my favorites I have selected this year: Allium Schubertii, Persica Fritillaria, Daydream Darwin Hybrid Tulip, Mixed Dutch Iris, Snowdrops, Fantasy Creation Muscari, Van Eijk Darwin Tulip and Sir Winston Churchill Fragrant Daffodils. You can use a “pre-made” collection which the folks at Tulip World have put together or create your own for the Lasagna technique! Have fun planting -and look forward to how beautiful it will look in spring all winter long!